
The journey from a great app idea to a successful launch on the App Store is an exciting one. It involves creativity, technical skill, and strategic planning. However, before your app can reach millions of users worldwide, there’s a crucial first step: creating an Buy IOS Developer Account. This account is your gateway to the entire Apple ecosystem, providing the tools, resources, and access needed to develop, test, and distribute your applications.
This guide will walk you through every stage of the process. We will cover why this account is essential and provide a detailed walkthrough for purchasing and setting it up. You’ll also learn how to prepare your app for submission and navigate the publishing process. By the end, you’ll have a clear roadmap to get your app onto the App Store and into the hands of users.
The Importance of an iOS Developer Account
An Apple Developer Program membership is more than just a license to publish. It’s a comprehensive toolkit that unlocks the full potential of Apple’s platforms. Without it, your app development is confined to simulators and your personal devices. An official account is the only way to access the features necessary for a public release.
Here’s what you gain with your membership:
- App Store Distribution: This is the most significant benefit. Your account allows you to submit apps to the App Store for iPhone, iPad, Mac, Apple Watch, and Apple TV. This gives you access to a global audience in over 175 regions.
- Beta Testing with TestFlight: Before you launch, you need to ensure your app is bug-free and user-friendly. The TestFlight platform lets you invite up to 10,000 external testers to try your app and provide valuable feedback, helping you refine the user experience.
- Advanced App Capabilities: Membership grants you access to a wide range of Apple technologies. You can integrate services like Apple Pay, iCloud, Game Center, and push notifications, which are essential for creating modern, feature-rich applications.
- Development and Analytics Tools: You get access to sophisticated tools like Xcode’s performance analysis instruments and App Analytics. These tools help you understand user engagement, track sales, and monitor your app’s performance to make data-driven decisions.
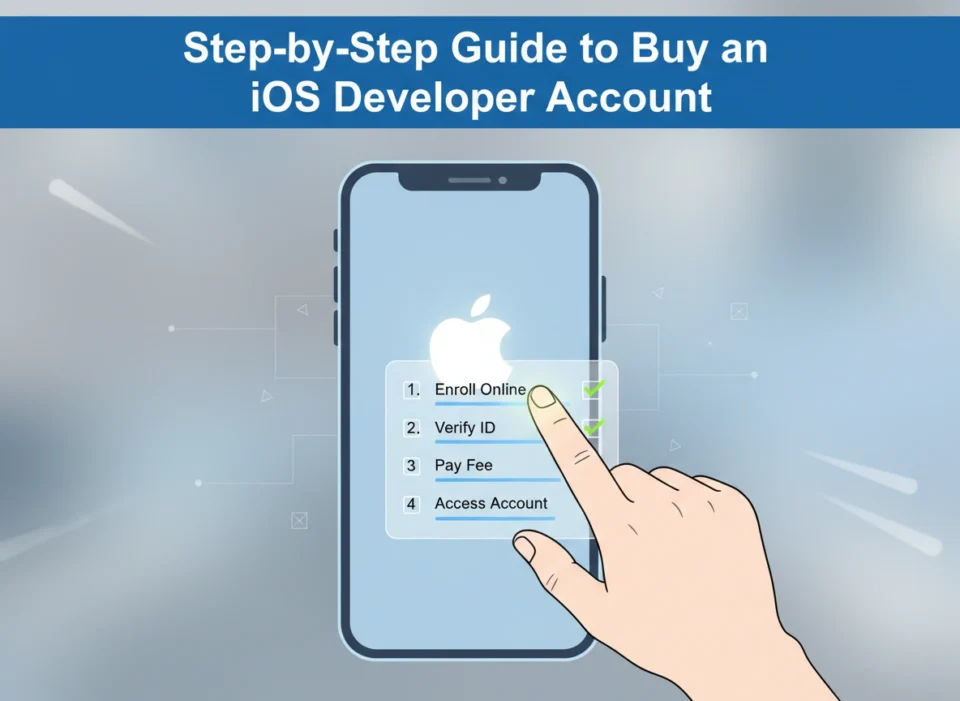
How to Buy Your iOS Developer Account
Purchasing your Apple Developer Program membership is a straightforward process. Apple requires verification to ensure the integrity of the App Store. Here’s how to do it, step by step.
Step 1: Create an Apple ID
If you already have an Apple ID, you can use it. If not, you’ll need to create one. It’s best practice to create a new, dedicated Apple ID for your development work, especially if you are working as a company. This keeps your personal and professional data separate.
You can create a new Apple ID on the Apple website. You will need to provide an email address, create a password, and set up security questions.
Step 2: Enable Two-Factor Authentication (2FA)
Security is paramount. Apple requires two-factor authentication to be enabled on your Apple ID before you can enroll. 2FA adds an extra layer of security, ensuring that only you can access your account.
To enable 2FA, you will need an Apple device (like an iPhone, iPad, or Mac). Go to the settings on your device, tap on your name, select “Password & Security,” and turn on Two-Factor Authentication.
Step 3: Start the Enrollment Process
Go to the official Apple Developer website and click on “Account” in the top right corner. Sign in with your Apple ID. From there, you will see an option to “Join the Apple Developer Program.” Click it to begin your enrollment.
You will be asked to choose between enrolling as an Individual or as an Organization.
- Individual: This option is for solo developers or hobbyists. Your name will appear as the seller on the App Store. The verification process is simpler, usually just requiring your basic personal information.
- Organization: This option is for businesses, non-profits, or educational institutions. Your company’s name will be listed as the seller. This path requires more verification. You’ll need a D-U-N-S Number, which is a unique nine-digit identifier for businesses. If you don’t have one, Apple provides a link to look up or request one for free during the enrollment process. Getting a D-U-N-S number can take a few business days.
Step 4: Complete Your Purchase
After providing your information and agreeing to the terms, you’ll be directed to the payment page. The Apple Developer Program costs $99 per year (or the local currency equivalent). The fee is a subscription, so you will need to renew it annually to keep your apps on the store and maintain access to developer resources.
Once your payment is processed and your information is verified, you will receive a confirmation email. Congratulations, you are now officially a member of the Apple Developer Program!
Tips for Setting Up Your Account
After your account is active, take some time to explore the developer portal, now called App Store Connect. This is your central hub for managing your apps, finances, and analytics.
- Complete Your Profile: Fill out the “Agreements, Tax, and Banking” section in App Store Connect. This is a critical step. You cannot sell paid apps or offer in-app purchases until you have provided your tax information and linked a bank account for receiving payments.
- Manage Users and Roles: If you are working with a team, you can invite other people to your App Store Connect account. You can assign different roles (like Admin, App Manager, or Developer) to control their level of access. This is essential for collaborative projects.
- Familiarize Yourself with App Store Connect: Spend some time navigating the dashboard. Understand where to find sales reports, user analytics, app reviews, and TestFlight builds. Knowing your way around this portal will save you a lot of time later.
Preparing Your App for Publishing
Before you can submit your app, you must ensure it meets Apple’s high standards for quality, performance, and security. The App Store Review Guidelines are your reference for what is and isn’t allowed. Reading them thoroughly is non-negotiable.
Here are the key preparation steps:
- Finalize Your App’s Metadata: Metadata is the information that represents your app on the App Store. This includes the app name, subtitle, description, keywords, and screenshots. Make sure your app name is unique and your description clearly explains what your app does. High-quality screenshots and an optional app preview video are crucial for attracting users.
- Create Your App Icon: Your app icon is the first visual element a user sees. It needs to be simple, memorable, and representative of your app’s purpose. You must provide the icon in various sizes to fit different devices and contexts.
- Test Extensively: Use TestFlight to distribute your app to a group of beta testers. Collect their feedback on bugs, usability issues, and overall experience. Fix any critical issues before submitting for review. A polished app has a much higher chance of being approved quickly.
- Review the Guidelines: Double-check your app against the App Store Review Guidelines one last time. Common rejection reasons include crashes, incomplete metadata, privacy policy issues, and misleading users.
A Guide to Publishing Your First App
You’ve built your app, tested it, and prepared all your assets. Now it’s time for the final step: submitting it to Apple for review.
- Create an App Record in App Store Connect: Log in to App Store Connect, go to “My Apps,” and click the “+” button to add a “New App.” You’ll fill in basic information like the app’s name, primary language, bundle ID (a unique identifier from your Xcode project), and SKU (a unique ID you create for tracking).
- Configure App Information: On the app’s product page, you’ll upload your screenshots, app preview video, and fill in the description and keywords. You’ll also set the price and availability. You can choose to make your app free, set a price tier, or offer it as part of a subscription.
- Upload Your Build: Using Xcode, you can archive your project and upload the final build directly to App Store Connect. Once the upload is complete and processed, it will appear in the “Build” section of your app’s record.
- Provide Review Information: You need to provide information for the App Store review team. This includes contact details in case they have questions and, if your app has a login, a demo account username and password. In the notes section, you can explain any complex features to guide the reviewer.
- Submit for Review: Once you’ve filled everything out and selected your build, a “Submit for Review” button will become active. Click it, and your app will be added to the review queue. The review process can take anywhere from a few hours to several days. You can track the status in App Store Connect.
If your app is approved, it will be published on the App Store on the date you specified. If it’s rejected, Apple will provide a reason. Don’t be discouraged by a rejection. Carefully read the feedback, make the necessary changes, and resubmit.
Your App Development Journey Begins
Purchasing an Apple Developer account and publishing your first app is a significant milestone. It marks the transition from developer to publisher. While the process may seem detailed, each step is designed to ensure a high-quality, secure, and reliable experience for all App Store users.
Now that your app is live, the journey continues. Monitor its performance using App Analytics, read user reviews to gather feedback, and continue to release updates with new features and improvements. Welcome to the global community of Apple developers.